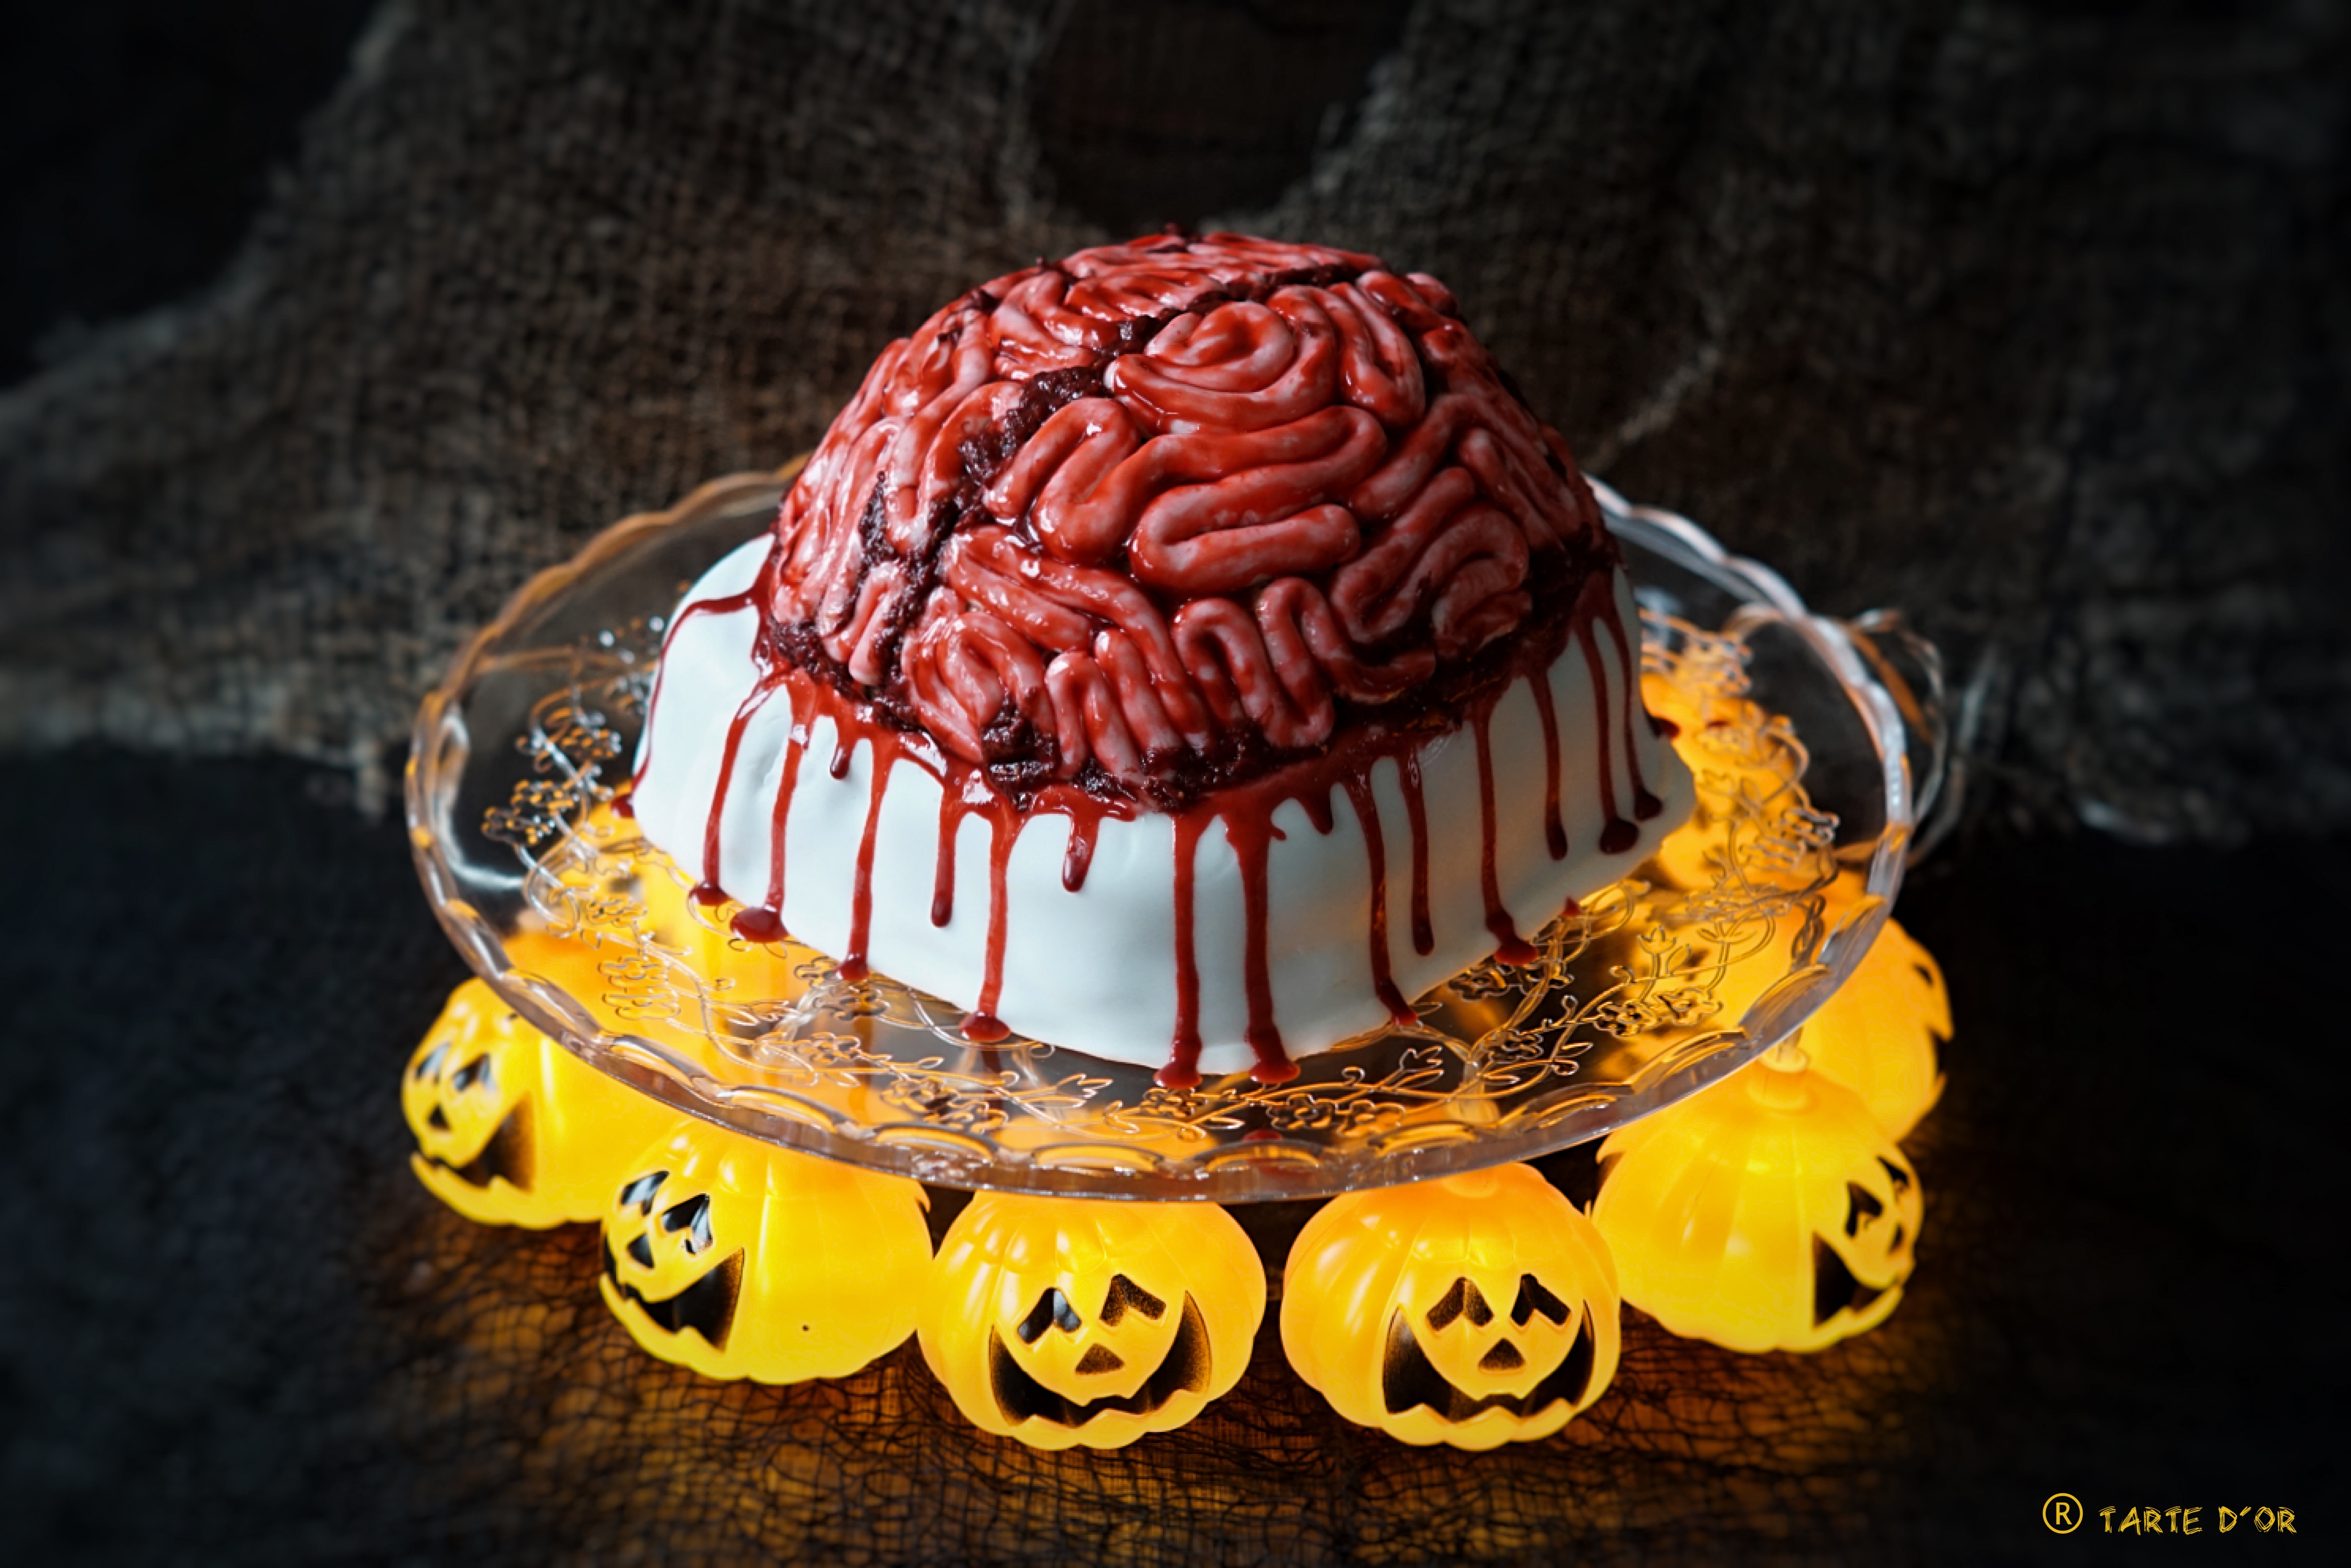
Halloween Brain Cake
WordPress database error: [Disk got full writing 'information_schema.(temporary)' (Errcode: 28 "No space left on device")]SHOW FULL COLUMNS FROM `wp_options`
WordPress database error: [Disk got full writing 'information_schema.(temporary)' (Errcode: 28 "No space left on device")]SHOW FULL COLUMNS FROM `wp_options`

It’s Halloween again !!! The only time of the year when I can bake something really gross (visually…) and the only time I allow myself to work with fondant because it does not have to look perfect. I have never been a fan of working with fondant because it takes a lot of time to make all the details you want and it is basically only sugar so I don’t see the point of adding it to the cake.
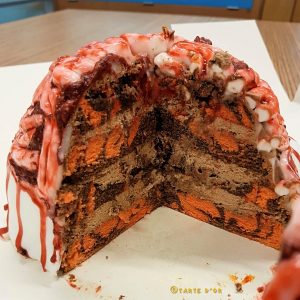
It took me a while to decide what I was going to do this year. I had of course many ideas but choosing one was really difficult. I finally decided to make this brain cake. I also chose to make a zebra sponge cake with orange and black colouring food gels to make it really Halloween style.
For the filling, I wanted to do a whipped ganache but I ended up added more cream than the original recipe required because I wanted the texture to be lighter. In the end, It looked more like a chocolate whipped cream but thick enough to hold all the pieces together and support the decoration.
For the decoration, I made the brain with white fondant, brushed it with some red berries jam (thanks Mom for making it). The fake pieces of flesh are cooked strawberries mixed with red and black colouring gels and the fake blood is made with icing sugar, milk and colouring gels.
I hope you will enjoy this recipe and don’t eat too much candy on Halloween night !
Ingredients :
Sponge Cake
- 300 g of eggs (about 6)
- 190 g of sugar
- 130 g of flour
- 35 g of Maizena
- 15 g of unsweetened cacao powder
Filling
- 100 g of dark chocolate
- 300 + 200 ml of liquid cream
Decoration :
- White fondant
- 300 g of strawberries
- red fruit jam (any kind you may have in your fridge, it just need to be red/pink)
- icing sugar
- milk (less than a tea spoon)
- food colouring gels (orange, black and red – purple can replace the black)
Start with the first part of the filling with the chocolate and the 300 ml of liquid cream.
Melt the chocolate in the microwave or over a pan with swimming water.
In another pan, warm up half of the cream (150ml). Once it starts boiling, add it to the chocolate in 3 times and mix well until it is all combined.
Then, add the other 150 ml of the cream and mix well. Put some plastic foil directly on the cream and leave it cool down 4 hours minimum in the fridge. You can do this step the day before if you prefer.
In the meantime, make the cake.
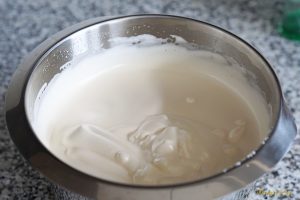
Put the eggs and the sugar in the bowl of your kitchen robot and whisk it at full speed for about 10 min. The volume of the preparation has to triple and should be foamy as on the picture below.
Add 110 g of sifted flour and the Maizena and mix it gently.
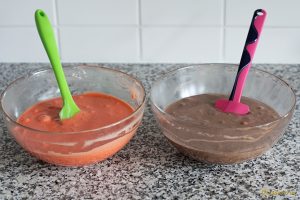
Divide this preparation in 2 big bowls. Add the remaining 20 g of flour to one bowl and add the cacao powder to the other one. Mix well.
In the bowl without the cacao powder, add some orange colouring gel until you get the nuance you want. You can add some red colouring gel if you want to make it really intense.
In the bowl with the cacao powder, add the black colouring gel. Mix well.
For the moulds, I used a square one and another smaller round. I didn’t want to make only a brain, I thought it would look better to put it on a larger base to allow the fake blood to leak on the sides of the cake. You can use just one round mould and then shape it as you want.
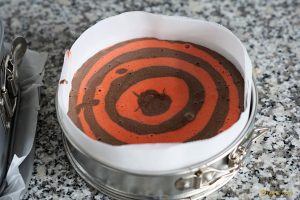
In each mould, cover the bottom and the sides with baking paper. Pour one big spoon of the orange mix in the middle, then add a big spoon of the chocolate mix on top of it and repeat the operation until both bowls are empty. By pouring each spoon on top of each other, it will give your cake not only a marbled effect but a “tiger” effect.
Bake the cakes at 180˚C for about 20-25 min.
Here is how they looked just after taking them out of the oven :
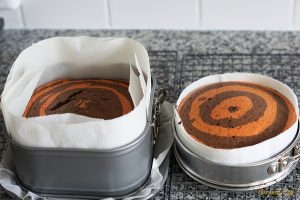
Remove the baking paper on the sides only. I discovered that leaving them cool down on the bottom baking paper was helping to get a round shape because the cake is kind of deflating a bit on itself so the top part of each cake became smaller than its base.
Once completely cooled down, cut each cake in 2 pieces in the length and put the small parts on top of the big ones. Cut the excess of cake on the top to give the shape you want.
When the chocolate filling cream is cooled down, take it out of the fridge and put it in the bowl of your mixer. Add the 200 g of chocolate cream and whip everything together until it looks like chantilly.
Put a layer of cream between each cake layer and then cover the whole cake with it. Put it back in the fridge to allow the cream to set.
In the meantime, you can prepare the fake flesh and the fake blood.
Fake flesh : cut the strawberries in pieces, put them in a pan with 2-3 spoons of sugar and let it cook until the strawberries are soft. Filter the strawberries to remove as much juice as possible and with a fork, mash them until you get some thick mix. Add some red and black colouring gel to make it look like fresh cut flesh.


Fake blood : put some icing sugar in a bowl, add a tiny bit of milk until and mix until all the sugar is incorporated but without being too liquid. Add some colouring gel to get the same nuance as the fake flesh. If it is too liquid, add some more sugar.
Then, roll out some fondant to cover the base of your cake. Remove the excess with a knife. Shape some fondant in long round rolls and shape the brain parts directly on the cake. I used a picture of a brain to help me but it doesn’t have to follow a particular pattern.
Put the cake back in the fridge for about 15 min to set.
After that, take it out again and put some pieces of fake flesh where you can still see the cream. It will mainly be between the two parts of the brain and between the base and the brain.
Then, using a brush, paint the brain with some red berries jam. If the jam is too thick to work with, warm it up few seconds in the microwave and add few drops of water to get the texture you need.
Finally, use another small brush to pour the fake blood at the base of the brain so that it leaks on the base. You can also had some on the brain itself to make it even more bloody. Try to focus on the spaces between the fondant rolls.
Keep it in the fridge until serving.
Bon appétit !
Warning: mysqli_query(): (HY000/1021): Disk got full writing '.(temporary)' (Errcode: 28 "No space left on device") in /mnt/block-volume/var/www/tartedor/wp-includes/wp-db.php on line 2024
WordPress database error: [Disk got full writing '.(temporary)' (Errcode: 28 "No space left on device")]SELECT t.*, tt.* FROM wp_terms AS t INNER JOIN wp_term_taxonomy AS tt ON t.term_id = tt.term_id INNER JOIN wp_term_relationships AS tr ON tr.term_taxonomy_id = tt.term_taxonomy_id WHERE tt.taxonomy IN ('language', 'post_translations') AND tr.object_id IN (840) ORDER BY t.name ASC
Warning: mysqli_query(): (HY000/1021): Disk got full writing '.(temporary)' (Errcode: 28 "No space left on device") in /mnt/block-volume/var/www/tartedor/wp-includes/wp-db.php on line 2024
WordPress database error: [Disk got full writing '.(temporary)' (Errcode: 28 "No space left on device")]SELECT t.*, tt.* FROM wp_terms AS t INNER JOIN wp_term_taxonomy AS tt ON t.term_id = tt.term_id INNER JOIN wp_term_relationships AS tr ON tr.term_taxonomy_id = tt.term_taxonomy_id WHERE tt.taxonomy IN ('language', 'post_translations') AND tr.object_id IN (878) ORDER BY t.name ASC